Background
Our community held an appreciation evening for our architects and Durham Central Park Cohousing, whose members mentored us through the journey.
During the planning, someone suggested having a slideshow play in kiosk mode on the TV in the multipurpose room while the party went on in the adjacent Common Dining Room.
And of course, all heads turned to me since I’m the de facto publicity guy who drafts the BCC blog and the (now quarterly) newsletter.
My Approach
When given this task about a month and a half before, I of course procrastinated. Well, not all the time; I was quite busy at the $DAYJOB and with other BCC and personal assignments that creating this show was not priority. I also trusted my inner guidance to let me know what to do and when I needed to do it.
But one still needs to make decisions early on, don’t one? They help to give one a place to start and to set up some useful constraints. Starting with the end in mind, I decided on the following:
- Keep the show to about 20-30 minutes.
- No music or other soundtrack, because there would be so much talking and other music playing in the other room.
- The show would be a blend of still photos and drone footage taken of the construction in progress.
- It seemed to me the simplest way to compile the photos would be to put them in chronological order; therefore, every photo needed to be accompanied by the month and year the picture was taken. I thought people looking at the pictures would want to know when they were taken.
- The show (either a movie or a PowerPoint slideshow or some other mechanism) had to play on my MacBook connected via HDMI to the TV.
- The show would be broken into three main pieces: pre-construction, construction, and then move-in on up to the present day. Even during construction we were having events—such as the beam-signing—so I thought those pictures could be interleaved with the constructions at the appropriate moments in the timeline.
What I Actually Created
An iMovie video slideshow that lasted almost 40 minutes. All photos were watermarked with the image’s creation month and year. The video got good reviews from the folks who saw it, and it brought back some good memories. But it was way too long.
Processing the Images
Did I say I started too late? I started too late.
We had two large stores of image files on our shared Google Drive: one set devoted to construction, one to community events. Fortunately, they were arranged in folders—and sometimes sub-sub-folders—by date. Google Drive is too slow to click and move through, so I tried downloading the folders via my browser, but there were inevitable hiccups with some corrupted files, internet burps, and whatnot.
- At that point, I searched out and found Cyberduck, which offered a fast and simple way to download those folders to my MacBook.
Now I had lots of folders and subfolders of images. I did not want to have to traverse all those folders; instead, I wanted a single folder with all the pre-construction images, a single folder with all the construction images, and a single folder with all the post-construction images.
- I searched around and—I still can’t believe this—found exactly what I needed: a MacWorld article from 2011 defining an Automator workflow that moved files out of subfolders to a parent folder, and then deleted the empty subfolders.
- I selectively used that Automator workflow to pull all those nested files up into a single directory for each category of images I had defined.
Now to process those images: sort them by name? By creation date? How to ensure I’m seeing all the files in the right order?
- I prefer sorting by name; it just makes things easier all around, especially if I was going to do more post-processing of the files later. Or inserting other images I might find later so they fitted into their chronologically right place.
- Much searching and trying out of programs led me to PhotoMill, which performed brilliantly.
- The key first step after ingesting the photos, was to select them all and then select File > File Attributes > Set Creation/Modification Date from Capture Date… This added the necessary metadata to the images for the next step.
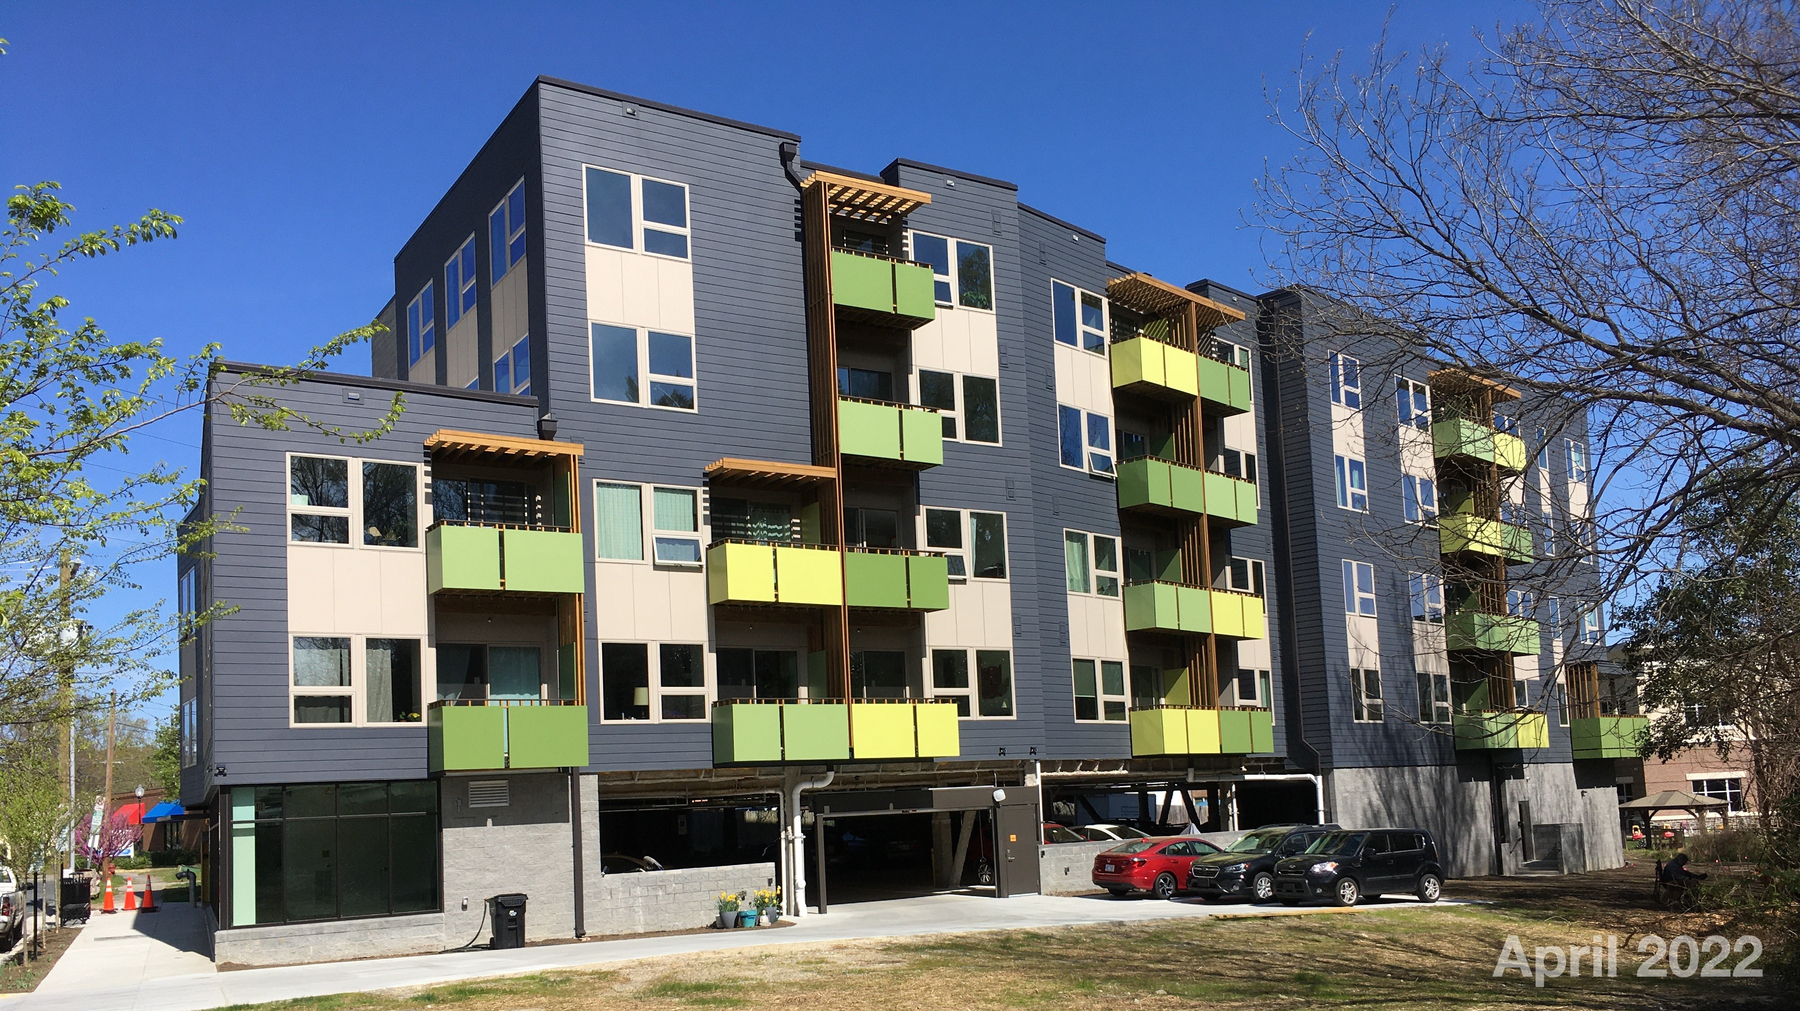
- I created a preset workflow within PhotoMill that changed all the formats—a mix of JPG, PNG, and HEIC—to JPG, renamed all the files to start with each image’s creation date and time in the format YYYY-MM-DD HH:MM, followed by the original filename, and then added the creation Month and Year in a 50% opaque white font in the lower right corner of each image, as shown here.
With a folder of images renamed, sorted, and formatted the way I wanted, all that was left was to … sift.
Because I did not have a detailed outline in mind, and because I wanted to let the materials lead me to where they wanted to go, I felt the only thing to do was to sift through all those images to make a first cut.
So for about an hour or so every day, I sorted through about 3,800 image files. Most were quickly consigned to the Trash.
I totaled the numbers of files I had. If each image lasted 4 seconds on screen, then 4 times the number of files and divided by 60 would tell me how many minutes the show would last. That first cut got me to about 60 minutes, so I knew I had lots more cutting to do.
Creating the Video Slideshow
As I sifted through the files again, I hit on the idea of calling the video “Timelines.” I decided to keep the construction images and event images separate, but staying with the pre-construction and post-construction eras. So there would be smaller timelines playing within the larger timeline narrative. I also decided to stop the show after our celebratory gala in May, after the move-ins had finished and we were ready to enjoy our accomplishment.
During that second round of culling, I created new subfolders for the images and began investigating how to present them. After looking at PowerPoint and other kiosk/slideshow programs, the simplest and most powerful tool to use was iMovie.
I consulted a MacMost video course on iMovie I’d bought a while back to educate myself for another project. Gary very helpfully had several videos dealing with my specific use case, and he refreshed my memory on applying transitions, titles, and other niceties. Using iMovie also let me easily drop in some MP4 and MOV drone videos captured during some of our events and during construction.
We were now at, oh, a day before the event? I reported that I’d have a really good first draft, and figured I’d have most of Saturday to get it mostly good.
Renaming the files as I had done meant that, as I dropped in batches of files, they sorted into the sequence I wanted. Adding the drone videos was also dead easy. And iMovie let me know how long the video was, so I could do more drastic cutting as needed. I had iMovie render low quality videos I used to review what would be the final product.
The MacBook Pro’s M1 processor made very short work of the video creation; on my old iMac, it would have taken maybe 90 minutes. I was so happy I got the Pro.
The video wound up at about 40 minutes, still about 20 minutes too long. I did some cutting and moving chunks around, but did not have a better creative idea to support such a drastic cut. Had I arrived at this point a week earlier, a better idea would have appeared.
What I Would Have Done Differently
- I could have eschewed watermarking all the photos in favor of using titles or other iMovie captioning. But then, I’d have still had to reference each image’s creation date to get that info correct. So, six of one…
- I would have foregone sifting through 3,800 images. My process, for better or worse, is to sort through everything. I did find a few great shots that way, but that effort was over the top. As Liz noted, whenever people were not in the pictures, the air went out of the show.
- In the next draft of this video, I will trim the 15-20 minutes of boring construction photos. Since I named the video “Timelines”, I will instead create more mini-narratives showing the progress, say, of the hallways and the lobby from studs to sheet rock to paint. Those will tell more meaningful stories within the larger construction narrative, and the impact will be greater to see 2 years’ progress on a defined space within the span of a few photos.